(905) 738 1870
Learning how to remove a sliding glass patio door can be challenging, but having the right instructions can help. Knowing how to do it yourself can save you money in the long run and is beneficial in case of an emergency.
So, whether your sliding glass door needs an immediate fix—or you just want to give your home a fresh look—it’s time to roll up your sleeves and get to work. This blog contains detailed instructions on how to remove a sliding glass patio door safely, an overview of the tools you need, as well as some helpful bonus tips.
Ready to get started? Let’s begin!
Tools & Safety Considerations
Like any DIY project, removing your sliding patio door maintenance and removal can be risky if not done correctly. Here are some things to keep in mind:
- Wear protective gear: Safety glasses and protective gloves will keep you safe if the glass panel breaks while you’re working.
- Ready your tools and equipment: To stay efficient and minimize injuries, ensure you have all the necessary tools and equipment nearby.
The last point is particularly important because knowing the kind of tools you need will help you remove sliding glass doors faster. Aside from the typical Phillips screwdriver, hammer, and drill bit set, you’ll also need the following:
-
- ➢ Flat pry bar
-
- ➢ Foam sheets or blankets
- ➢ Flathead screwdriver
5 Steps for Removing Sliding Glass Doors
While it may vary depending on your handy skills, you can generally expect to spend around an hour on a project like this. To help keep you on the right track, here’s how to remove a slider glass door in five easy-to-follow steps:
Step #1: Secure Your Workspace
The first step to learning how to remove a sliding glass patio door is understanding how to prepare your workspace.
Start by clearing the area of any obstacles or debris. It’s also a good idea to lay down some blankets or foam sheets to protect your flooring. Try to organize your tools in one place and keep them within reach so you don’t misplace them.
Step #2: Inspect the Sliding Panel
Start by checking the sliding panel to observe how the door tracks and rollers work when you open and close the door. Before you can get further into the job you need to learn how to remove a sliding glass door panel.
Try to look for a cap or a hole on the bottom outside edges of its panel. If you see a cap when you open the glass door, pry it using your flathead screwdriver. Once it’s removed, look at the hole to determine which kind of screws you’ll need to hold the door back in place.
While most use a flathead screw, it’s still important to double-check to avoid issues with your door later. Take note that while some sliding doors work the same way, others may use different mechanisms when opening and closing the sliding glass door.
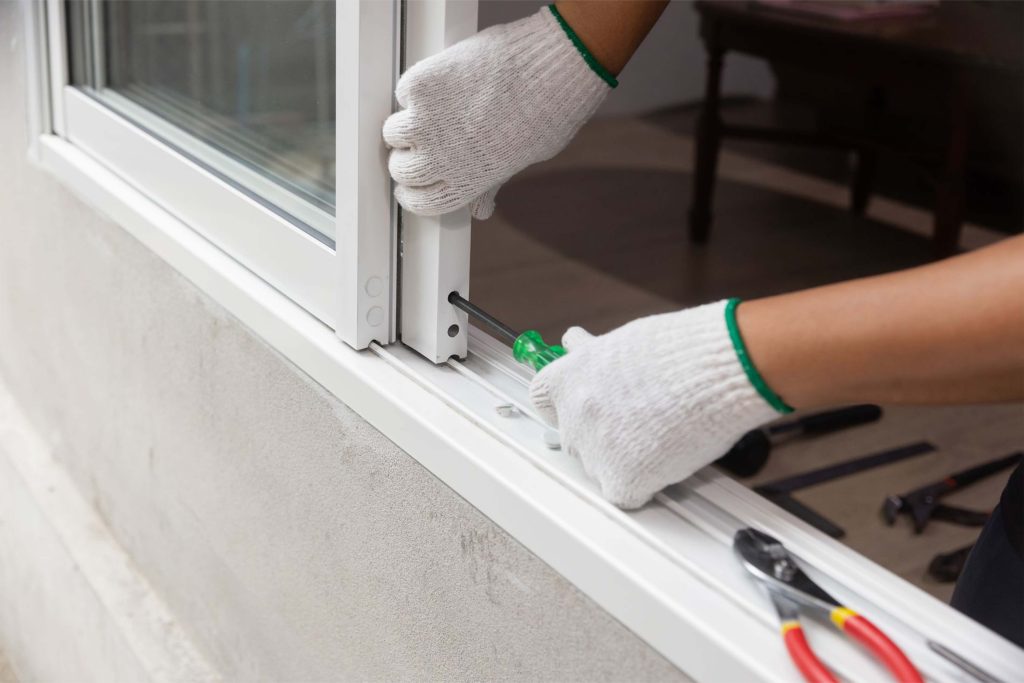
Step #3: Disconnect the Door Tracks
Insert your screwdriver into the hole of the door panel and turn it counterclockwise as far as it can go. Do the same on the other end of the panel. This should lower the door and make it easier for you to lift the door from the tracks.
Step #4: Remove the Door
Grab the sides of the sliding door, lift it, and tip it to release it from the lower door tracks. Sliding glass doors can be heavy; it would be wise to have someone around to help you lift and carry the door to your designated area.
Some glass patio doors are equipped with removable screens. If you have one, you can lift the screen door out of its tracks after removing the sliding door. If your screen door is attached with screws, use your screwdriver to release them before lifting.
Step #5: Remove the Stationary Panel
The stationary panel is held by a stopper—usually made with wood or aluminum brackets—angled along the top of the track. If you can’t find the stopper, it could be hidden under a sheathing attached to the door frame.
To expose it, insert your flat prying bar into the top corner nearest the stationary panel. Then, unscrew the stopper to allow the stationary panel to slide along the track. Finish this step by tipping the door inward and lifting it from the tracks.
Taking Out the Door Frame
This step on our “how to remove a sliding glass patio door” checklist doesn’t apply if you’re not looking to replace the frame. If you are, you might as well remove it while the door is already out to save yourself some time and effort.
Use a reciprocating saw to cut through the top and sides of the door. This should remove the fasteners, shims, and other door parts and components attaching the frame to the door jamb. Then, tip the door frame from the top while simultaneously pulling it outwards. Pry it until the door frame is released from the floor.
Avoid removing the door forcefully as it will increase your chances of damaging the surrounding walls, which can lead to expensive repairs.
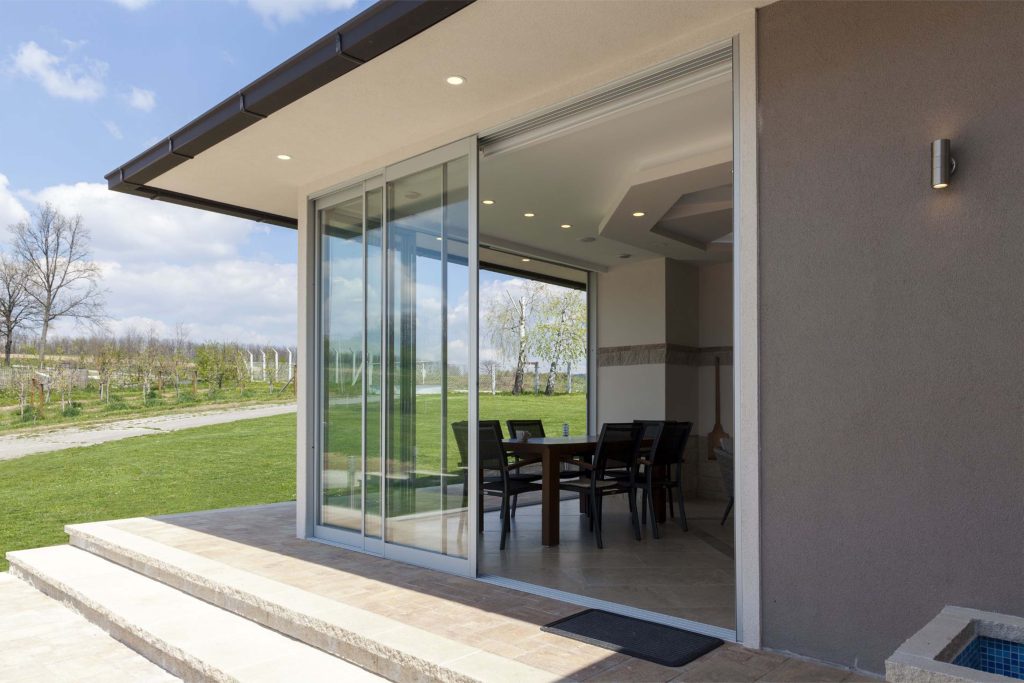
Get a High-Quality Sliding Door at Burano
There you have it: how to remove a sliding glass door in five steps. However, unless you plan to just keep an open hole in the wall, we imagine you’re going to want a new door—that’s where the experts at Burano Doors come in.
Offering premium products at affordable prices, we have become one of the most trusted manufacturers and sellers of modern doors and windows in Canada. Our doors have also undergone extensive energy-efficiency testing to earn Energy Star approval.
Contact us today if you have questions or for a free in-home estimate!